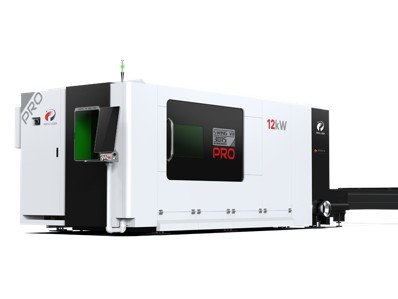
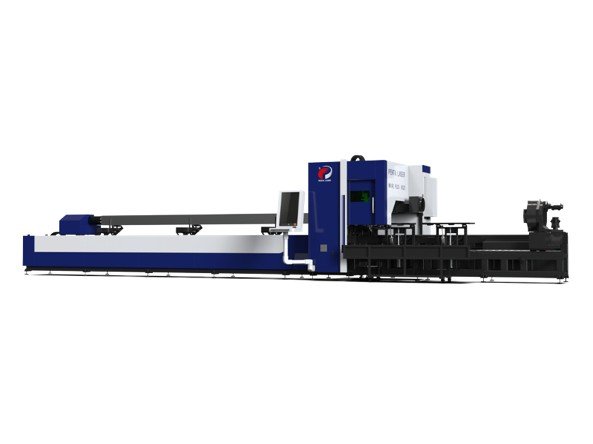
Fiber laser cutting is highly regarded for its exceptional efficiency and precision, but tuning your machine isn’t always straightforward. By implementing the following advice, you can significantly enhance your laser cutting results and achieve outstanding quality.
1. Select High-Quality Materials
Quality of material has a direct and significant impact on cutting performance. Using high-grade materials with smooth, rust-free, and oil-free surfaces avoids the issue of impurities interfering with the cutting process. For example, low-grade steel may contain contaminants that degrade cut quality, especially when using oxygen-assisted cutting. If you need to work with rusty or dirty material, add a low-power “scoring” laser pass before each main cut to blast away any impurities.
2. Increase Laser Power
One of the primary reasons for diminished cut quality is insufficient laser power, particularly when cutting thicker materials. Using a higher-power laser minimizes cutting streaks, producing smoother edges, better overall quality, and faster production cycles. All laser resonators degrade over time, affording you less efficiency as years pass.
3. Optimize Cutting Speed
Laser cutting speed is directly proportional to power density and inversely proportional to material density, thickness, and thermal properties. Enhancing cutting speed can improve quality through these methods.
- Increase laser power within specified limits. For thin material, this may not be 100% power – can your machine move fast enough to reach optimal density? For thicker materials, maximize your power output to cut at your machine’s speed limit.
- Increase speed until the quality is maximized. Cutting faster or slower than the optimal speed will lead to quality defects.
4. Adjust the Focus Position
For optimal cutting results on thin material, position the focus slightly below or adjacent to the material’s surface. For thicker material, the optimal focus can lie anywhere from halfway into the material to below the bottom surface. When in doubt, test a range of focal points in increments of 0.5mm, and choose the best-looking result. Ensure the relative position between the workpiece and the focal point remains stable throughout the process (Calibrate your height-following system often!). For thin materials, a shorter focal distance can enhance both speed and quality.
5. Design Cutting Line Spacing Carefully
Maintain appropriate spacing between cutting lines to avoid issues:
- Too narrow spacing can lead to overheating, melting, or even material rupture due to residual heat from previous cuts. Remember, your stable cut parameters may not behave the same once your material and head have increased to production temperatures. Don’t assume that testing a parameter on room-temperature steel will produce the same result during a full production run.
- Dense nests may look enticing due to their material efficiency, but part spacing can make or break your cut quality. Aside from heat, the process needs properly designed lead lines to allow the laser to reach stable power output before reaching your part’s outline.
6. Check Perforation Quality
Perforation quality is a critical factor in the overall cutting process. Abnormal noise, sparks, or large gaps during perforation indicate incorrect parameter settings. Adjust these settings before resuming cutting to improve results and extend equipment lifespan. The vast majority of protective lens damage events are caused by poorly adjusted perforation settings. If you have a set of perforation parameters that are 95% perfect, that means 1 in every 20 cuts could lead to a lens-damaging event!
7. Use High-Purity Assist Gas
Assist gas helps blow away dust and slag, provides the necessary force to clear your kerf, and stabilizes temperatures. Volume and pressure are important characteristics, but it’s easy to forget about the importance of purity. Any trace of dust and oil will coat your optics and ruin any hope for consistency in cut quality. For best results, use gas with a purity of 99.99%. Air compressors are a tempting replacement for your nitrogen means, but keeping up with proper filter quality and routine maintenance can be difficult.
8. Use the Right Nozzle
The nozzle plays a critical role in controlling airflow and directly impacts the cutting quality. Follow these guidelines to optimize performance:
- Ensure the nozzle is undamaged to maintain uniform airflow. If the aperture has deformed in any way, it will affect your cut quality.
- Select a nozzle diameter that matches the material thickness.
- Maintain proper coaxial alignment between the nozzle and the laser beam. Again – uniform, symmetrical, even airflow around all sides of the laser beam is critical.
- Ensure a stable distance between the nozzle and the workpiece to achieve consistent cutting quality. This might mean routinely calibrating your standoff distance, or fixing a sheet that wants to move and flutter during processing.
If you would like more advice on optimizing your fiber laser cutting machine, Gleam Machinery is ready to provide you with remote or online technical guidance. Contact our team of experts and let us help you take your cutting process to the next level with our professional services!
📞 : 312-257-7289


